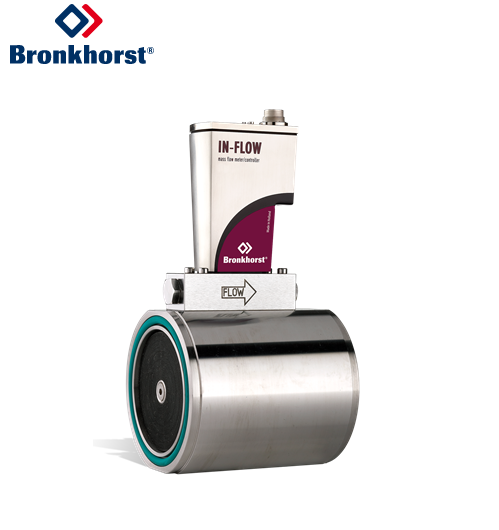
Cảm biến lưu lượng
Xuất sứ: The Netherlands
Nhà cung cấp: ANS Đà Nẵng
Hãng sản xuất: BRONKHORST VIET NAM
|
Measurement / control system |
|
|---|---|
|
Flow range, based on N2 |
min. 0,4…20 m3n/h |
|
Accuracy (incl. linearity) |
±1% FS |
|
Turndown |
1:50 |
|
Multi fluid capability |
storage of max. 8 calibration curves |
|
Repeatability |
< 0,2% Rd |
|
Response time |
typical: 0,5 seconds |
|
Operating temperature |
-10…+70°C; |
|
Temperature sensitivity |
zero: < 0,05% FS/°C; span: < 0,05% Rd/°C |
|
Pressure sensitivity |
0,1% Rd/bar typical N2; 0,01% Rd/bar typical H2 |
|
Leak integrity, outboard |
tested < 2 x 10⁻⁹ mbar l/s He |
|
Attitude sensitivity |
max. error at 90° off horizontal 0,2% FS at 1 bar, typical N2 |
|
Warm-up time |
30 min. for optimum accuracy |
|
Mechanical parts |
|
|---|---|
|
Material (wetted parts) |
stainless steel 316L or comparable |
|
Pressure rating |
up to 40 bar abs (PN10, 16, 40); |
|
Process connections |
Wafer type, for mounting between flanges according to DIN DN40 or ANSI 1½” |
|
Seals |
standard: Viton®; options: EPDM, Kalrez® (FFKM) |
|
Weight |
4,0 kg |
|
Ingress protection (housing) |
IP65 |


 Hotline
 anhnghisonhcm


